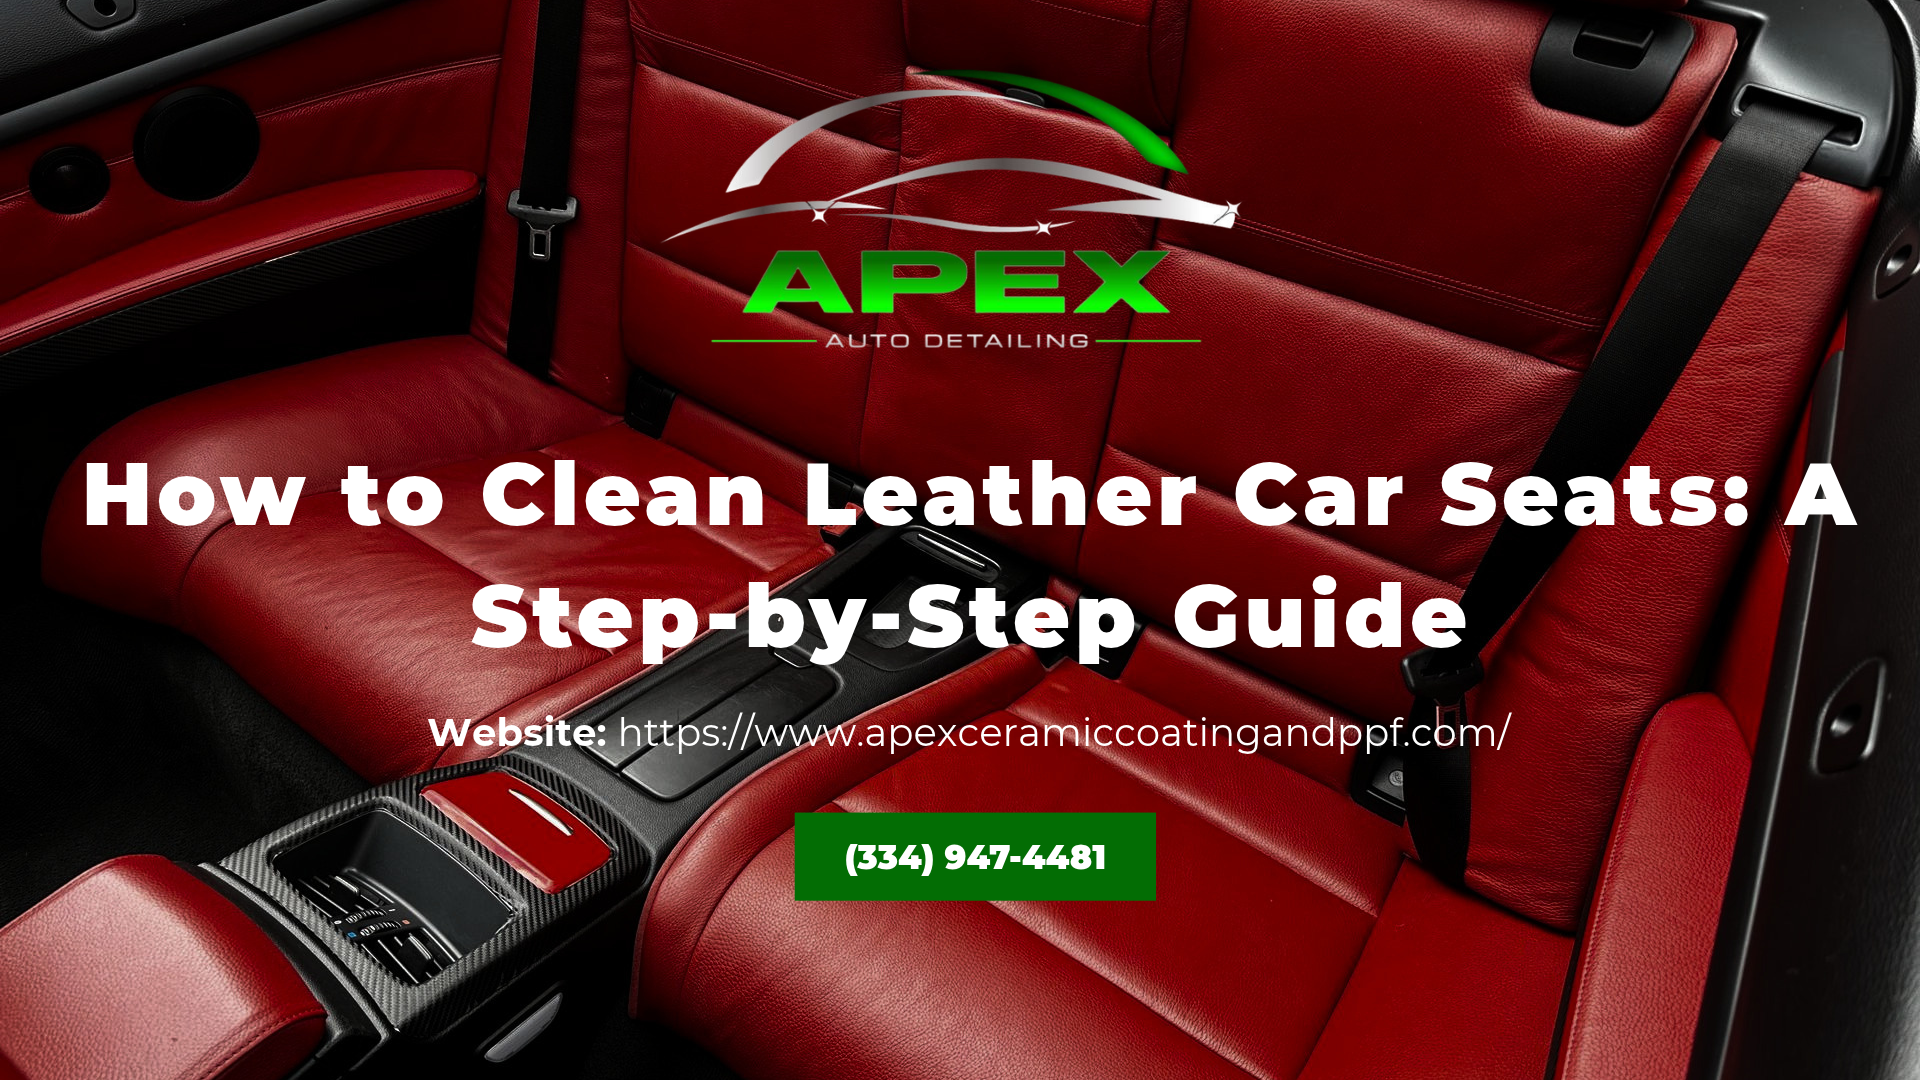
How to Clean Leather Car Seats: A Step-by-Step Guide
To clean leather car seats, vacuum seams and perforations, test a compatible automotive leather cleaner on a hidden spot, apply it to a microfiber cloth, and work gently in small sections. Wipe away residue with a clean cloth, let the seats dry naturally, and condition only if your leather type calls for it.
Key Takeaways
- Vacuum leather seats before cleaning to remove grit from seams, crevices, and perforations.
- Identify your leather type first. Coated, aniline, perforated, and synthetic upholstery need different levels of care.
- Use a leather cleaner compatible with your vehicle's upholstery and protective coating.
- Apply the cleaning solution with a microfiber cloth or soft brush using light pressure.
- Treat ink, grease, and dye transfer according to the stain type and leather manufacturer's care instructions.
- Seek professional detailing for severe staining, discoloration, tears, or damaged leather finishes.
Why Leather Car Seats Need Regular Cleaning and Conditioning
Leather car seats need regular cleaning to remove body oils, sweat, sunscreen, denim dye transfer, and road dust before these contaminants accumulate on the protective finish. The driver's seat bolster, seat edges, armrests, and headrests typically collect the most residue because they experience frequent contact with clothing and skin.
Many modern vehicles use coated automotive leather with a protective topcoat. This finish helps protect the underlying material, but it can still accumulate dirt and develop visible wear. Without appropriate cleaning, contamination can make the surface look dull, uneven, or discolored.
Cleaning frequency depends on driving habits, passenger use, climate, and the type of upholstery. Leather conditioning requirements also vary, so follow the vehicle manufacturer's recommendations rather than applying conditioner on a fixed schedule.
Regular interior care is part of a broader vehicle maintenance routine. Understanding how often you should detail your car can help you plan cleaning sessions based on driving habits, parking conditions, and local climate.
Know Your Leather Type Before You Clean
The type of upholstery determines how much moisture, pressure, and product the seat can tolerate. Check the owner's manual or the vehicle's interior specifications before choosing a cleaning method.
- Coated (pigmented) leather: Has a protective topcoat over the hide and is common in modern vehicles. It generally tolerates routine cleaning with a compatible cleaner, but conditioner may not penetrate the coating.
- Aniline and semi-aniline leather: Has less surface protection than fully coated leather, making it more susceptible to liquid absorption and staining. It requires minimal moisture and products specifically formulated for that leather type.
- Perforated leather: Has small holes, often used for ventilated or heated seats. Cleaning requires minimal moisture to prevent liquid from collecting in the perforations.
- Synthetic leather (leatherette, vinyl, or polyurethane upholstery): Is not animal hide and may require different cleaning products. Use a cleaner approved for the specific synthetic material rather than assuming traditional leather products are suitable.
If the owner's manual does not identify the upholstery, consult the vehicle manufacturer or a professional detailer before applying a cleaning product.
Essential Tools and Products for Cleaning Leather Car Seats
Cleaning leather car seats requires a few basic tools: a vacuum with a suitable attachment, clean microfiber cloths, a soft-bristled detailing brush, and a compatible automotive upholstery cleaner. These tools help remove surface contamination without unnecessary abrasion or excess moisture.
Always check the cleaner's label and test it on a small, inconspicuous area before treating the entire seat. Choose products according to the upholstery type and its protective finish.
Tools and Products at a Glance
| Tool or Product | Best Use | Important Consideration |
|---|---|---|
| Automotive leather cleaner | Routine cleaning of compatible leather | Check compatibility with the leather finish |
| Microfiber cloth | Applying cleaner and removing residue | Use a clean, non-abrasive cloth |
| Soft detailing brush | Cleaning textured areas and seams | Avoid excessive pressure |
| Leather conditioner | Conditioning compatible leather surfaces | Use only when recommended for the material |
| Vacuum with soft attachment | Removing loose debris | Avoid damaging stitching or upholstery |
Why Household Cleaners Are Not a Safe Default
Mild dish soap, vinegar, baking soda, and other household substances should not automatically be treated as safe leather cleaners. Their suitability depends on their formulation, concentration, and the upholstery's protective finish. Products designed for furniture leather are also not automatically suitable for automotive upholstery.
Avoid using ammonia, bleach, strong solvents, or multipurpose household cleaners unless the vehicle or upholstery manufacturer specifically confirms compatibility. When in doubt, choose a cleaner intended for the vehicle's particular upholstery type.
Cleaning Perforated Leather Seats
Perforated leather seats need particular attention because liquid can collect inside the holes and potentially reach the material beneath the surface. Apply cleaner to a microfiber cloth rather than spraying the seat directly. Use minimal moisture and avoid allowing liquid to pool in the perforations.
Vacuum the perforations before cleaning so loose dirt is removed rather than pushed deeper into the holes. Use gentle movements and follow the cleaner manufacturer's instructions for removing residue.
Step-by-Step Leather Car Seat Cleaning Process
Work in small sections to maintain control over the amount of cleaning solution used. This approach also helps prevent cleaner from drying unevenly, particularly when working in a warm vehicle. Park in the shade and allow the interior to cool before starting.
- Vacuum loose debris. Remove dirt, crumbs, and grit from seams, crevices, and perforations before applying any cleaning solution.
- Test the cleaner. Apply a small amount to an inconspicuous area to check for discoloration or changes to the finish.
- Apply leather cleaner. Follow the product instructions and apply the cleaner to a microfiber cloth when recommended.
- Clean gently. Use light, controlled movements with a microfiber cloth or soft-bristled brush. Avoid excessive pressure.
- Remove cleaning residue. Wipe the treated area with a clean microfiber cloth as directed by the cleaner's instructions.
- Allow the surface to dry. Let the seats dry naturally before using the vehicle or applying any additional compatible leather-care product.
- Condition only if recommended. If your upholstery type and the manufacturer's guidance call for it, apply a compatible conditioner according to the product instructions.
Cleaning time depends on the number of seats, the amount of accumulated dirt, and the cleaner's application and drying instructions. Allow sufficient drying time before using the vehicle.
Proper Vacuuming and Preparation Techniques
Vacuum leather seats before scrubbing because loose dirt and grit can scratch or abrade the finish when moved across the surface. Pay particular attention to seams, seat edges, crevices, and perforations, where debris tends to collect.
Use a suitable vacuum attachment and avoid dragging hard plastic components across the upholstery. A careful vacuuming pass also helps prevent dirt from mixing with the cleaning solution and spreading across the seat.
Before cleaning, remove personal items from the seats and check the upholstery for existing damage. Cracks, peeling, loose stitching, or exposed material may require professional assessment rather than routine cleaning.
Gentle Cleaning Techniques for an Even Finish
Clean one small section at a time using controlled, overlapping movements. This approach helps distribute the cleaner evenly and reduces the likelihood of streaks or missed areas.
Avoid repeatedly scrubbing the same spot. If contamination does not lift with gentle cleaning, stop and check whether the stain requires a different treatment. Excessive pressure can damage the protective coating without necessarily removing the underlying discoloration.
For textured leather and stitching, use a soft detailing brush only when the upholstery manufacturer or cleaning-product instructions permit it.
Drying After Cleaning
Allow leather seats to dry according to the cleaner's instructions before applying another product. Avoid using excessive heat or directing hot air at the upholstery to accelerate drying.
Leave the vehicle in a shaded, well-ventilated area while the seats dry. Make sure the upholstery is dry before applying conditioner or another interior-care product.
Removing Tough Stains from Leather Car Seats
Tough stains on leather car seats require treatment based on the type of contamination and the upholstery's protective finish. Ink, grease, and denim dye transfer can respond differently to cleaning methods, so avoid applying household solvents or abrasive substances without confirming compatibility.
Start with a cleaner approved for your vehicle's upholstery and follow the manufacturer's stain-removal instructions. If discoloration or staining persists, seek professional assessment before attempting stronger treatments.
Treating Ink and Dye Transfer Stains
Ink stains and denim dye transfer can be difficult to remove because the pigment may remain visible even after ordinary surface cleaning. Light-colored leather is particularly susceptible to noticeable transfer from dark clothing. Treating dye transfer promptly may improve the likelihood of successful removal.
Use a compatible automotive leather cleaner and test it in an inconspicuous area before treating the visible stain. Avoid scrubbing aggressively or applying rubbing alcohol, nail polish remover, or other solvents without confirmation that they are safe for the specific upholstery. These substances can affect the color or protective coating.
If the stain remains, professional assessment is preferable to repeated attempts with increasingly strong cleaning agents.
Grease and Oil Stain Removal Methods
Grease and oil stains require careful treatment because rubbing can spread contamination across the leather surface. Start by gently blotting excess material with a clean, dry microfiber cloth. Avoid pressing the substance deeper into the upholstery.
Follow with a leather cleaner specifically approved for the vehicle's material. Apply it according to the product instructions and use light movements rather than aggressive scrubbing.
Do not automatically apply baking soda paste, household degreasers, or other abrasive substances. If the stain remains visible after appropriate cleaning, a professional detailer can assess whether specialized treatment is necessary.
Leather Conditioning: Products and Application Methods
Leather conditioning requirements depend on the type of automotive upholstery and its protective finish. Coated leather may not absorb conditioner in the same way as aniline leather, while synthetic upholstery typically requires a different care approach. Not every seat needs conditioning after every cleaning session.
Use only products recommended for the specific material and follow the manufacturer's application instructions. Applying too much product can leave a greasy surface, create residue, or affect the seat's appearance.
How to Apply Leather Conditioner
If the vehicle manufacturer's care instructions recommend conditioning, follow these steps:
- Start with clean, fully dry upholstery.
- Test the conditioner on a hidden area.
- Apply a small amount to a clean microfiber applicator, not directly onto the seat.
- Spread the conditioner evenly over one section at a time, following the product's application instructions.
- Allow the recommended dwell time stated on the label.
- Remove any excess product with a clean microfiber cloth if directed by the manufacturer.
Do not apply conditioner to synthetic upholstery or coated leather unless the product is specifically approved for that material. Avoid using excessive amounts, which can leave the surface slippery or attract additional dirt.
Understanding UV Protection and Leather Preservation
Sunlight and heat can contribute to fading, drying, and deterioration of vehicle interiors over time. Leather preservation therefore involves more than applying conditioner.
Vehicle owners can reduce unnecessary sun exposure by parking in a garage or shaded area and using a windshield sunshade when appropriate. Regularly removing sunscreen, body oils, and other surface contamination also helps maintain the upholstery's appearance.
Some interior-care products offer UV protection, but their suitability depends on the upholstery material and finish. Check product specifications rather than assuming that every conditioner provides meaningful UV protection.
Common Mistakes to Avoid When Cleaning Leather Seats
The wrong cleaning method can damage leather seats even when the intention is to remove dirt. Avoid these common mistakes:
- Using incompatible household cleaners: Ammonia, bleach, strong solvents, and multipurpose cleaners may damage the leather finish.
- Applying too much water: Excess moisture can collect in seams and perforations or reach the material beneath the upholstery.
- Scrubbing too aggressively: Stiff brushes and excessive pressure can abrade the protective coating.
- Using untested stain removers: Rubbing alcohol, nail polish remover, and other solvents may cause discoloration.
- Over-conditioning: Excess product can create a greasy surface, leave residue, or reduce grip.
- Ignoring manufacturer instructions: Different leather finishes and synthetic materials require different cleaning and maintenance methods.
Over-Conditioning and Product Buildup Issues
Applying too much conditioner can make leather seats feel slippery and attract additional dirt. Excess product may also leave a cloudy or uneven appearance, particularly when it accumulates in textured areas and stitching.
Use conditioner only when it is compatible with the upholstery and recommended for the material. Apply the amount specified by the manufacturer and remove excess product as directed.
If product buildup has formed, follow the cleaner manufacturer's instructions or seek professional advice before attempting to remove it. Applying additional conditioner without addressing the buildup may make the surface look and feel worse.
Maintaining Leather Car Seats Between Deep Cleans
Wiping leather seats with a clean, slightly damp microfiber cloth as needed helps prevent body oils, dust, and everyday residue from building up between deeper cleaning sessions. This routine is especially useful on driver's bolsters, seat edges, armrests, and headrests, where frequent contact creates visible contamination.
Remove spills and surface residue promptly using a cleaning method compatible with the upholstery. Regular light maintenance reduces the need for aggressive scrubbing later.
Vehicle owners should also pay attention to areas exposed to direct sunlight and frequent contact with clothing. Using a sunshade and parking in a covered area when possible can help limit unnecessary exposure to heat and sunlight.
When to Choose Professional Leather Detailing Services
Professional leather detailing is appropriate for severe staining, discoloration, damaged protective finishes, and restoration needs that routine cleaning cannot address. Experienced detailers can assess the material, identify suitable cleaning methods, and determine whether specialized treatment or leather repair is necessary.
Rips, tears, peeling, and significant color damage may require dedicated leather repair or restoration rather than standard detailing. Re-dyeing and refinishing also involve different processes from routine cleaning and should be evaluated separately.
Consider professional assistance when:
- Stains remain after appropriate cleaning.
- Leather has visible discoloration or uneven color.
- The protective finish is peeling or deteriorating.
- The upholstery has cracks, cuts, or tears.
- Previous cleaning attempts have left streaks or surface damage.
- You are unsure which products are compatible with the upholstery.
Professional detailing covers more than routine surface cleaning. Understanding
what car detailing includes can help you determine when your vehicle needs deeper interior cleaning, exterior care, or additional protection.
Professional Leather Seat Cleaning in Columbus and Phenix City
Apex Ceramic Coatings And PPF serves vehicle owners in Columbus, GA, Phenix City, AL, and surrounding areas. Its auto detailing in Columbus, GA includes interior cleaning and leather conditioning for seats with heavy body-oil buildup, dye transfer, or dull finishes. Maintaining a clean interior is an important part of overall vehicle care, particularly in high-contact areas where body oils, dust, and everyday residue accumulate.
The veteran-owned and operated business also provides paint correction, ceramic coating, XPEL paint protection film, and XPEL window tint. Vehicle owners can contact Apex Ceramic Coatings And PPF at
(334) 947-4481 to ask about available detailing and vehicle protection services.
Frequently Asked Questions
How often should leather car seats be cleaned?
Leather car seats should be cleaned as needed based on vehicle use, visible contamination, and the manufacturer's care recommendations. Frequently used vehicles may need more regular attention, especially around the driver's seat bolsters, armrests, and headrests. Follow the upholstery manufacturer's instructions if they specify a particular maintenance schedule.
Can household products clean leather seats safely?
Not all household products are suitable for automotive leather. Vinegar, baking soda, dish soap, bleach, ammonia, and multipurpose cleaners can affect certain leather finishes. Use a cleaner specifically intended for your vehicle's upholstery and test it on a hidden area before treating the entire seat.
What is the safest way to clean perforated leather seats?
Perforated leather seats should be cleaned with minimal moisture to prevent liquid from collecting inside the holes. Apply a compatible cleaner to a microfiber cloth rather than spraying the seat directly. Use gentle movements and remove residue according to the product instructions. Avoid soaking the upholstery or allowing liquid to pool around the perforations.
Why does leather conditioner matter after cleaning?
Leather conditioner may help maintain certain types of automotive leather, but it is not necessary for every seat or after every cleaning session. Many modern seats have protective coatings that affect how conditioners interact with the surface. Follow the vehicle manufacturer's care instructions and use only products confirmed compatible with the upholstery.
When should a professional detailer handle leather seats?
Professional detailing is recommended when leather seats have persistent stains, severe discoloration, damaged finishes, or visible deterioration. Rips, tears, peeling, and significant color loss may require specialized leather repair or restoration rather than routine detailing. A professional assessment helps identify the appropriate treatment and reduces the risk of further damage.
What to Do Next
Tree sap removal works best when the method matches the condition of the deposit. Fresh spots may respond to a suitable automotive cleaner, while hardened sap requires more controlled treatment. If a visible mark remains after cleaning, professional inspection can help determine whether the clear coat needs correction.
Apex Ceramic Coatings And PPF provides paint correction, ceramic coating, and XPEL PPF services for vehicle owners in Phenix City, AL, Columbus, GA, and surrounding areas. Contact the team through its website or call (334) 947-4481 to discuss the paint condition and appropriate protection options.
About the Author
Written by Apex Ceramic Coatings And PPF
Apex Ceramic Coatings And PPF shares practical guidance on automotive detailing, interior care, paint correction, and exterior vehicle protection for owners in Phenix City, AL, Columbus, GA, and surrounding areas.
Last updated:
November 2026